Wiring Ender 3 to Duet 3 Mini 5+
My setup is an ender 3 with BLTouch and direct drive (BMG bondtech extruder) with SKR V1.3 board. So would be converting this to the duet.
Basic Setup
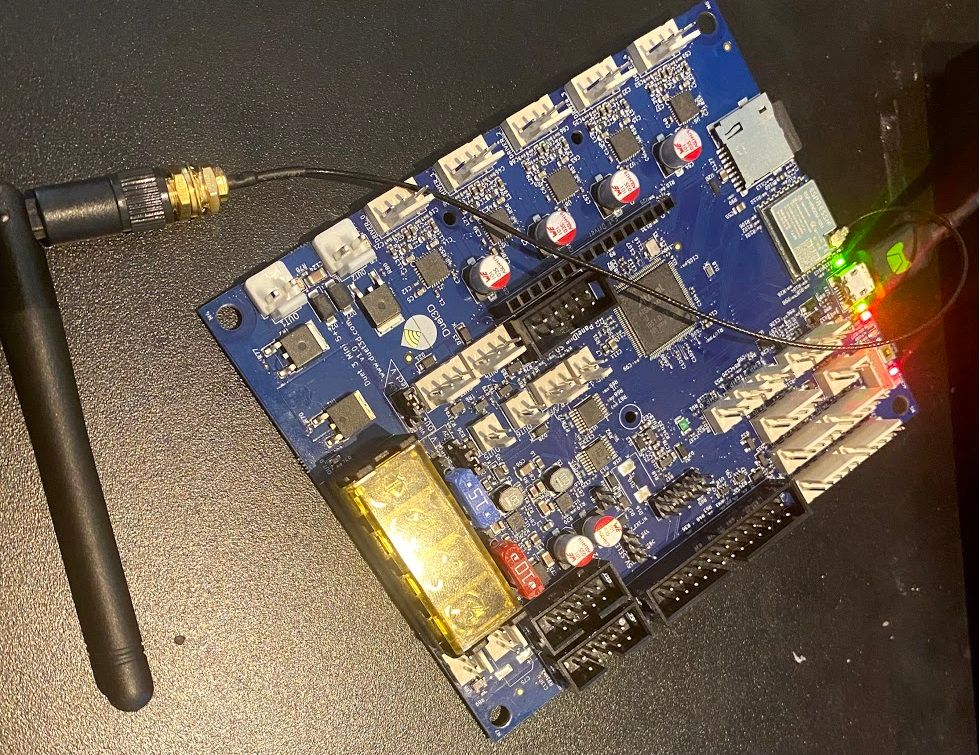
First , connect the board's wifi antenna/ethernet cable and connect it via usb to a computer.
- Follow this link to connect your board to a network.
- If done correctly, you should be able to access the web interface via the board's IP address.
- First upgrade the firmware to the latest version . Checkout this link
- Go to the Reprap config tool and fill in all the printer's details
- [I/O Mapping Tab] The convention is to set Fan 0 as the part cooling fan and Fan 1 as the hotend heatsink fan.(Else some slicers have issues and you might need to manually switch them)
- [I/O Mapping Tab] For bltouch , set io3 as input and PWM Control Channel as io3 as well.
- [Motors tab] This is mostly a copy paste from Configuration.h and Configuration_adv.h from marlin firmware
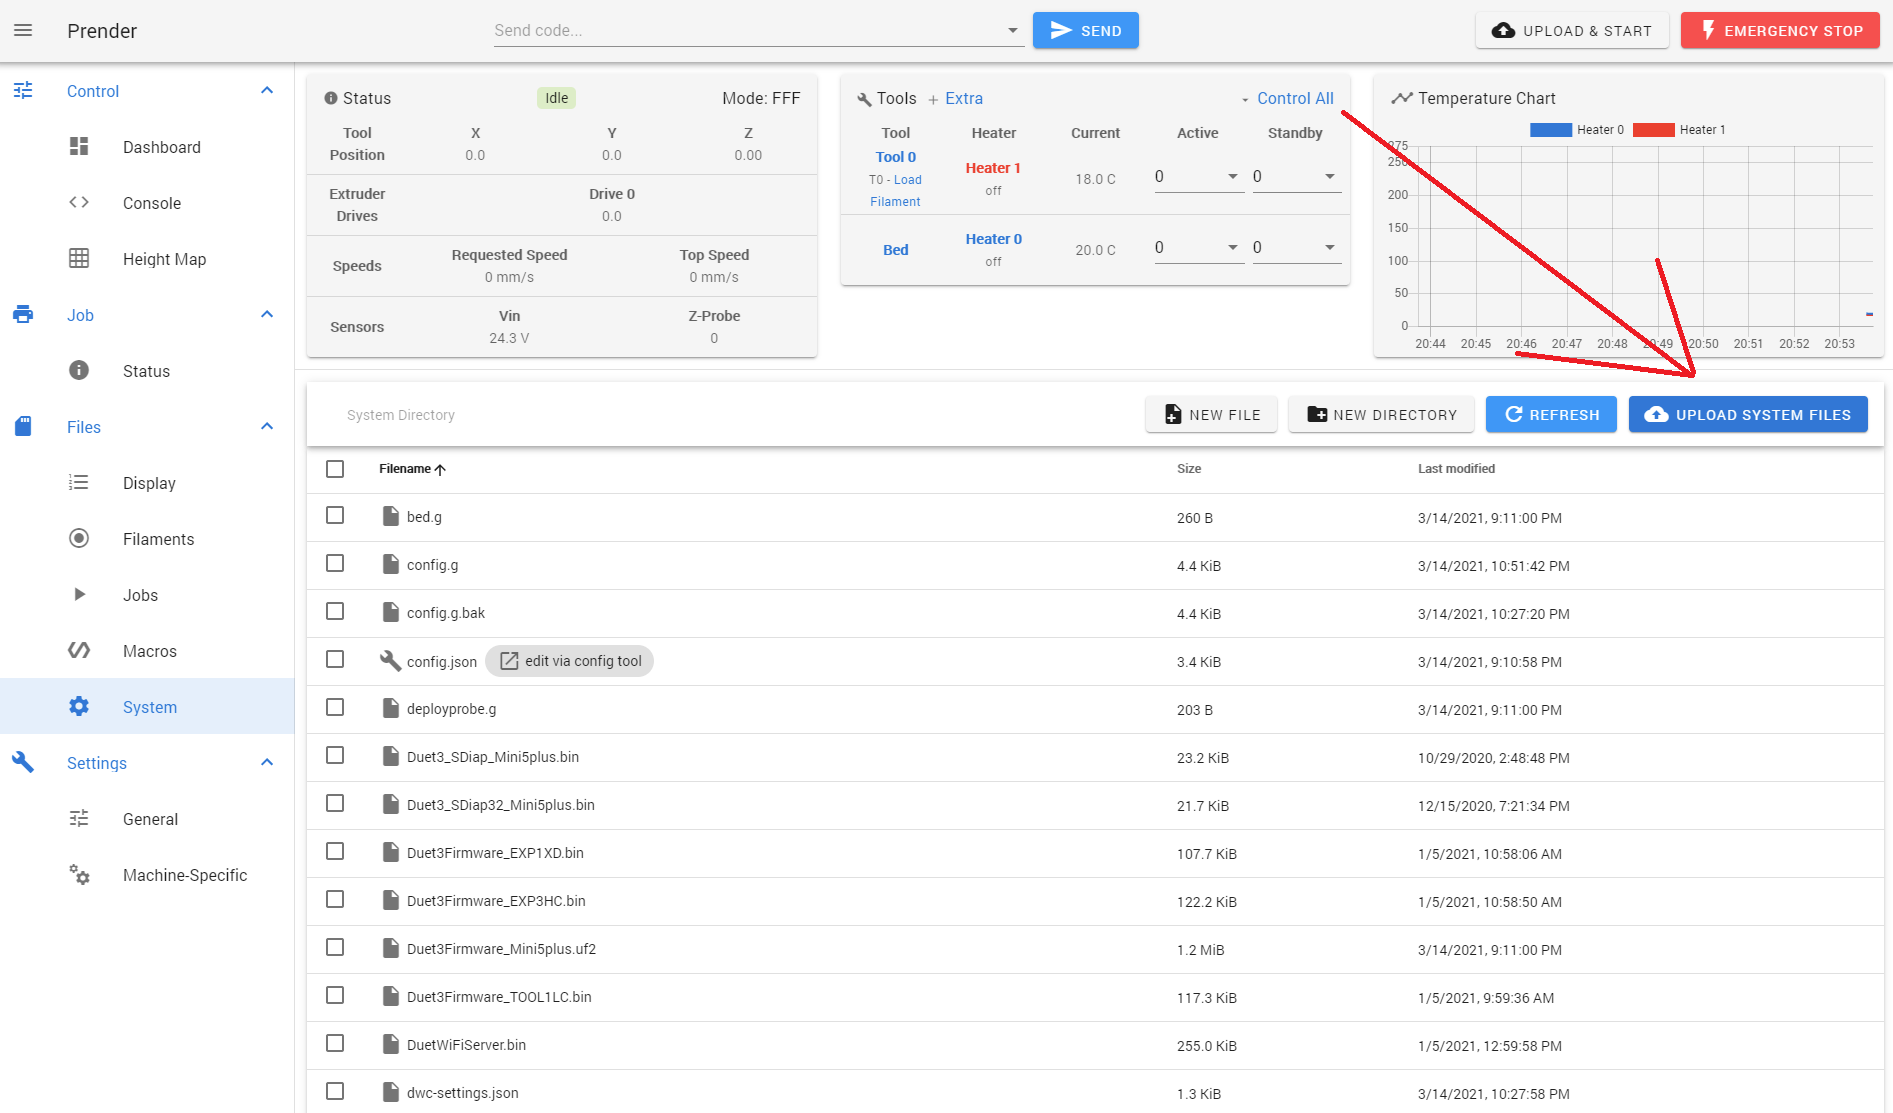
Here is the config I used. You can base your changes off it(you can upload it into the tool). Download the resulting config and upload it in the systems tab of your duet
Connecting steppers
First, remove the 4 stepper cables from your controller board to the stepper motors. Cut off the end that connects to the controller board and trip the wires.
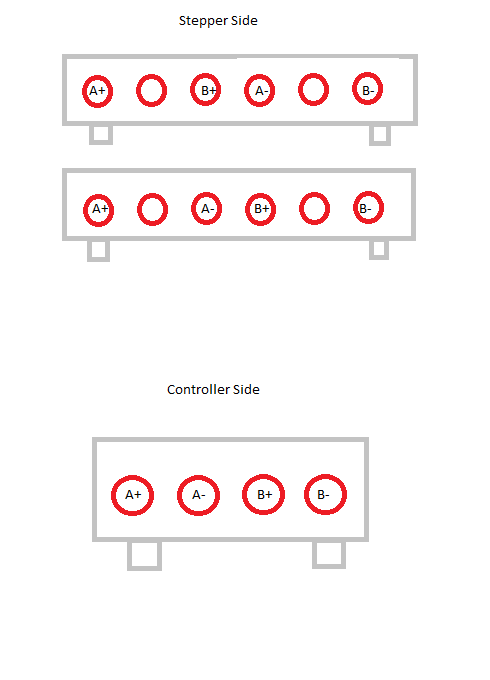
The side that is connected to your stepper , the connector might have been wired either way in the above picture. So map out which order the wires are with the help of a multimeter (in continuity mode, the one that beeps when shorted). A+ & A- will pass continuity and B+ & B- will pass the continuity. The Duet needs it in order given by above image(Make sure you orient both the stepper and controller connector the same way before pushing in wires).
Now, lets test if the steppers work.
- Connect the stepper motor to Driver 0(X axis)
- Power on duet
- Press home X on duet web interface and the stepper should mode
- Now power down duet
Connecting BLTouch
Bltouch has 5 wires
- 2 Ground wires (Brown and Black)
- +5V (Red)
- Zmin sensing pin (White)
- Push pin control (Orange)
Connect the 2 ground pins together and connect these 4 leads to a 5 pin connector.
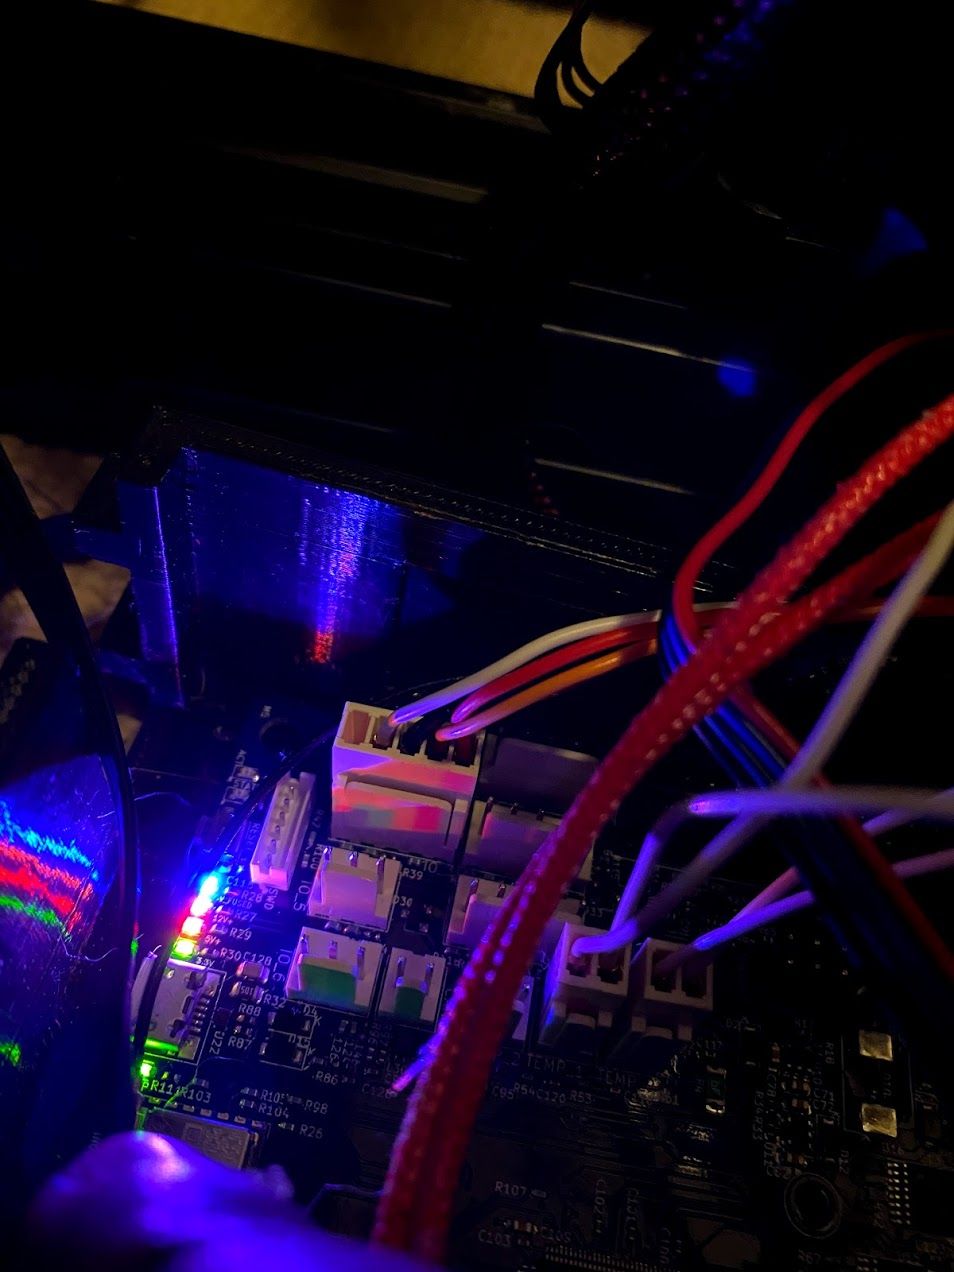
Refer this wiring diagram and then connect it to io3 on the board. At this point if you power on the duet board, your BLTouch should power on as well.
Connecting All others
Connecting all others things like thermistor, heater bed etc should be straight forward. Refer the wiring diagram
After wiring everything, go to duet web interface
- Try heating up bed and the bed temperature should rise
- Try heating up extruder , the temperature should rise.
- Run M564 H0 . This should allow you to move axis without homing. Try moving all the axis and see if they move as intended.
PID Tuning
If you selected PID for heater control in the reprap firmware config tool, you need to tune it first.
Lets tune the hotend. Go to the console tab in duet web interface. Run
M303 H1 S240
It should spit out a value like this after a few minutes

Go to config.g in the system tab and update M307 H1 line with the above. Run
M303 H0 S60
for tuning the bed and do the same. Bed takes a while longer (like an hr)
Sensorless Homing and Tuning it
Go to config.g in systems tab and change the end stop section to look like this
; Endstops
M569 P0 S0 D3 V100      ; physical drive 0 goes forwards (x)
M569 P1 S0 D3 V100      ; physical drive 1 goes forwards (y)
M574 X1 Y1 S3 	        ; configure sensorless endstop for low end on X  (Sensorless)
M574 Z1 S2              ; configure Z-probe endstop for low end on Z
The M569 is the configure stealthchop. Try tuning one axis at a time. Next go to console and type
M569 P0 ; For x axis
M569 P1 ; For y axis

It should spit out some values on to console. What we need is tpwmthrs 100 (93.8 mm/sec) . So this is the speed threshold for stealthchop. Now convert this to mm/min which would be 93.8*60 = 5628mm/min . So when we move X axis and Y axis, we should set the feed rate to below this threshold so that it says in stealthchop mode.
Next we need to get the current for sensorless homing. We want the current to be as low as possible while getting consistent motion at the threshold feedrate. So set current using
M913 X60 Y60
This sets the current on X and Y to 60% of max current, followed by some motion at threshold feedrate along the axis using
G1 X<some X point on bed> F5628
If the X gantry doesn't move reliably, increase current. Once you have this dialed down move on to tuning the homing speed.
Now onto homex.g This should look like
M400                ; wait til stuff stops
M913 X60 Y60        ; drop motor currents to 50%
M201 X1000 Y1000    ; reduce acceleration on X/Y to stop false triggers
M915 X S0 R0 F0 H200; Sensitivity 0, don’t take action, don’t filter,
G91                 ; set relative
G1 H2 Z5 F1200
G1 H1 X-250 F3000   ; move left 250mm, stopping at the endstop
G1 X10 F1200        ; move away from end
G1 H2 Z-5 F1200
G90                 ; back to absolute positioning
M400                ; wait again
M913 X100 Y100      ; motor currents back to 100%
M201 X500 Y500      ; accel back to original
M915 S63 X Y R0     ; Disable Logging and lower stall detection
Now what we need to tune is Feedrate in G1 H1 X-250 F3000 command. If F is too high, the carriage would crash and not trigger a stall. If F is too low, carriage would crash and trigger a stall . If you set it just right, it should not crash and trigger a stall. You can also try changing the S value of M915 X S0 R0 F0 H200 command if just feedrate change doesn't cut it. Now homing of X axis should work perfectly everytime. Try pushing the carriage to various positions and try homing. Once satisfied move on to tuning Y axis.
homey.g should look like this
M400                ; wait til stuff stops
M913 X60 Y60        ; drop motor currents to 50%
M201 X1000 Y1000    ; reduce acceleration on X/Y to stop false triggers
M915 Y S0 R0 F0 H200; Sensitivity 0, don’t take action, don’t filter,
G91                 ; set relative
G1 H2 Z5 F1200
G1 H1 Y-250 F3000   ; move left 250mm, stopping at the endstop
G1 Y10 F1200        ; move away from end
G1 H2 Z-5 F1200
G90                 ; back to absolute positioning
M400                ; wait again
M913 X100 Y100      ; motor currents back to 100%
M201 X500 Y500      ; accel back to original
M915 S63 X Y R0     ; Disable Logging and lower stall detection
Again tune all the parameters as needed.
Finally homeall.g becomes
M98 P"homex.g"
M98 P"homey.g"
M98 P"homez.g"
Now if you run home all, it should home properly.
Bed Leveling
For this I'd refer you to this blog for detailed steps.
tldr: Change z-probe section in config.g to this
M950 S0 C"io3.out"                   ; create servo pin 0 for BLTouch
M558 P9 C"^io3.in" H5 F120 T6000     ; set Z probe type to bltouch and the dive height + speeds
G31 P500 X2 Y17 Z1.725               ; set Z probe trigger value, offset and trigger height
M557 X15:215 Y15:195 S60             ; define mesh grid
Adjust the Z trigger offset G31 P500 X2 Y17 Z1.725 . If your bltouch triggers while homing z but not for some of the points when probing the bed, try increasing the dive height. If you bed is very uneven, a larger dive height is required(or try leveling your bed manually using the screws below the bed). After doing this run
G29
This should probe the bed. Once done checkout the results in the heightmap tab.
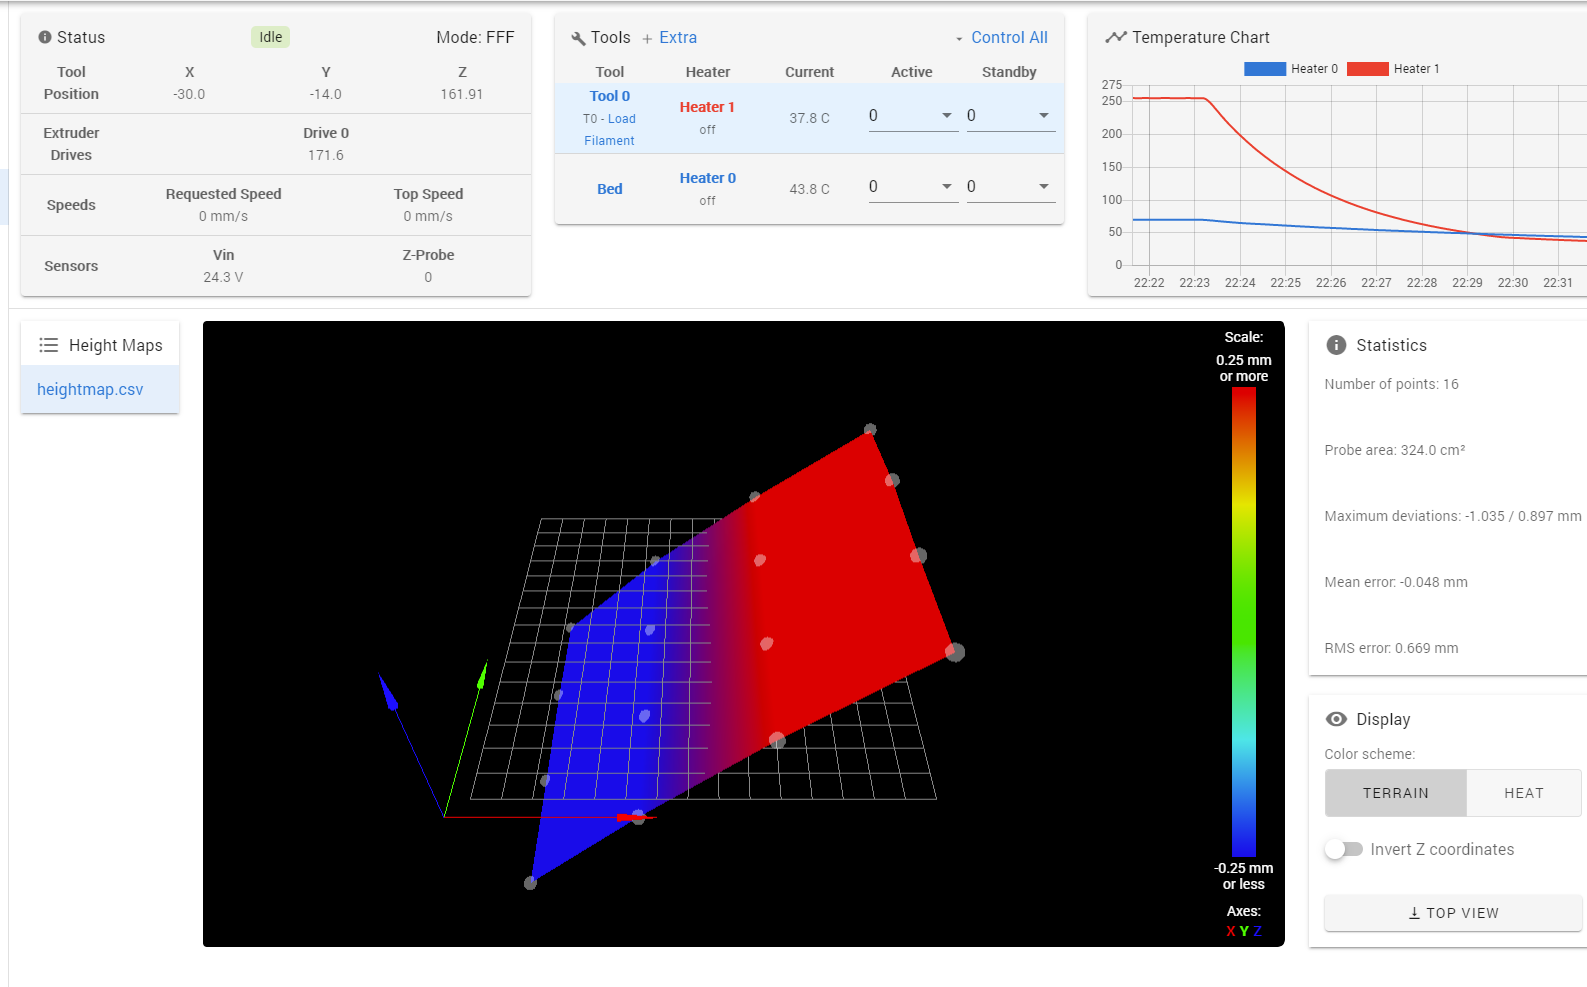
As you can see my bed is pretty badly leveled. I'd say try to make it as flat as possible for better prints and easier on the Z-axis motor. After a few screw adjustments, mine looked like this.
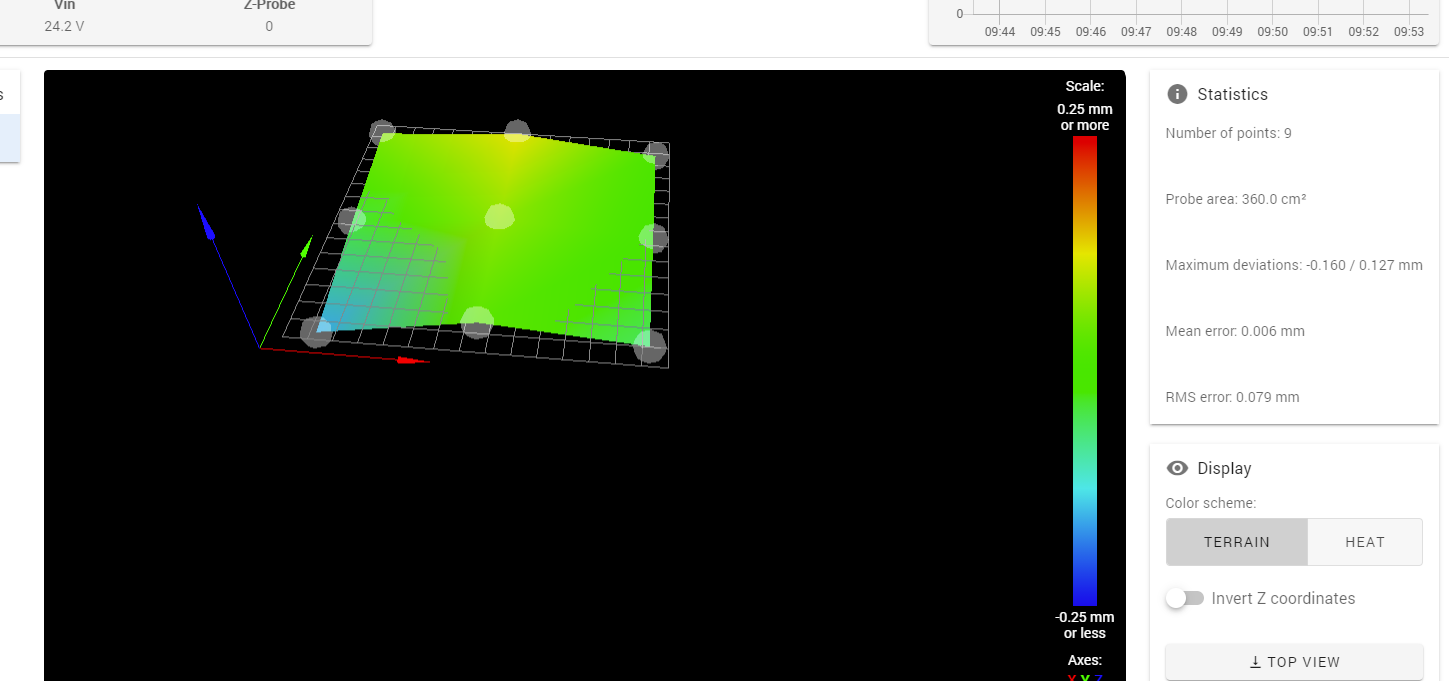
Now the lowest point is -0.160. So we must allow Z to reach atleast this height below 0 and not stop at 0. So we need to update axis limits for Z to a value lower than this for Z. Lets pick -0.5 for Z.
Since we are using sensorless homing, the X = 0 point for the 3d printer doesn't necessarily put the hotend on X=0 of the bed. Use the console and move X & Y so that the hotend is right above 0,0 of the bed and note the X and Y values.
Now we update them in config.g
M208 X-40 Y-24 Z-0.5 S1
Slicer
- Make sure to change your slicer's gcode format to Reprap
- Add any start/end gcode for your duet if there is any other additional configuration needed.
Here is my start and end gcode.
Start GCODE
; Startup Gcode
G91                        ; Relative Positioning
M104 S{material_print_temperature_layer_0}                  ; set extruder temp
M140 S{material_bed_temperature_layer_0}                   ; set bed temp
M190 S{material_bed_temperature_layer_0}                   ; wait for bed temp
M109 S{material_print_temperature_layer_0}                  ; wait for extruder temp
G90                        ; Absolute Positioning
M98 P"homeall.g"           ; Home XY
;M561                       ; Clear any bed transform
;G29 S2                     ; Clear mesh compensation
;G29 S0                     ; Level bed and save to file
G29 S1                     ; load file
G1 Z20.0 F6000             ; Move Z to 20
G1 X5 Y5                   ; Move Head to front left
G92 E0                     ; Zero Extruder
G1 Z2.0 F3000 ; Move Z Axis up little
G1 X0.1 Y20 Z0.3 F5000.0 ; Move to start position
G1 X0.1 Y200.0 Z0.3 F1500.0 E15 ; Draw the first line
G1 X0.4 Y200.0 Z0.3 F5000.0 ; Move to side a little
G1 X0.4 Y20 Z0.3 F1500.0 E30 ; Draw the second line
G92 E0                     ; Zero Extruder
End GCODE
G10 P0 R-273.15 S-273.15     ; Turn off Tool0
M140 S-273.15                ; Turn off Bed
M106 S0                      ; Object fan off
G92 E0                       ; Zero Extruder
G1 E-1 F300                  ; Retract 2mm
G91                          ; Relative positioning
G1 Z+10 E-2 F1500            ; move Z up a bit and retract filament even more
G92 E0                       ; Zero Extruder
G90                          ; absolute positioning
G0 X0 Y{machine_depth}
M84                          ; All motors Off
No you should be ready to slice and start printing. You might have to fine-tune your Z-probe offset at this point. Once it starts printing, use the Z babystepping in "Status" tab to get the right squish. Once you get the right squish, update your Z value in config.g for this command accordingly.
G31 P500 X2 Y17 Z1.725